
Create an avatar style with Figma
Our Figma plugin is the easiest way to create an avatar style for DiceBear. The following tutorial requires basic knowledge about Figma.
Step 1
If you want DiceBear to dynamically change colors in your avatar, you have to create the colors in Figma as locale style. Arrange the colors in groups. Name them according to the following pattern: <group>/<option-name>. For example, skin/light.
You will use the locale styles later to colorize paths. DiceBear will then change the colors of the paths within a group depending on the seed and color settings. For the names of <group> and <option-name> you can use alphanumeric characters as well as hyphens.
In the following example you can see how this could look like:
Step 2
Now assign a color from the created groups to your paths that will be colored dynamically. Which color from a group does not matter. The important thing is that the group is correct.
Step 3
Create the individual parts of your avatar as components. Again, use the <group>/<option-name> naming pattern to create groups.
Identical to the colors, DiceBear will later (taking into account the seed and the settings) select a component from a group and put it into the avatar.
Step 4
Make sure that each component in a group has the same dimensions.
Step 5
Create as many color and component groups as you like. Then you can bring all the components together.
To do this, create a frame and make sure that the width and height are identical. From the Assets tab, drag one instance from each component group into the frame.
Step 6
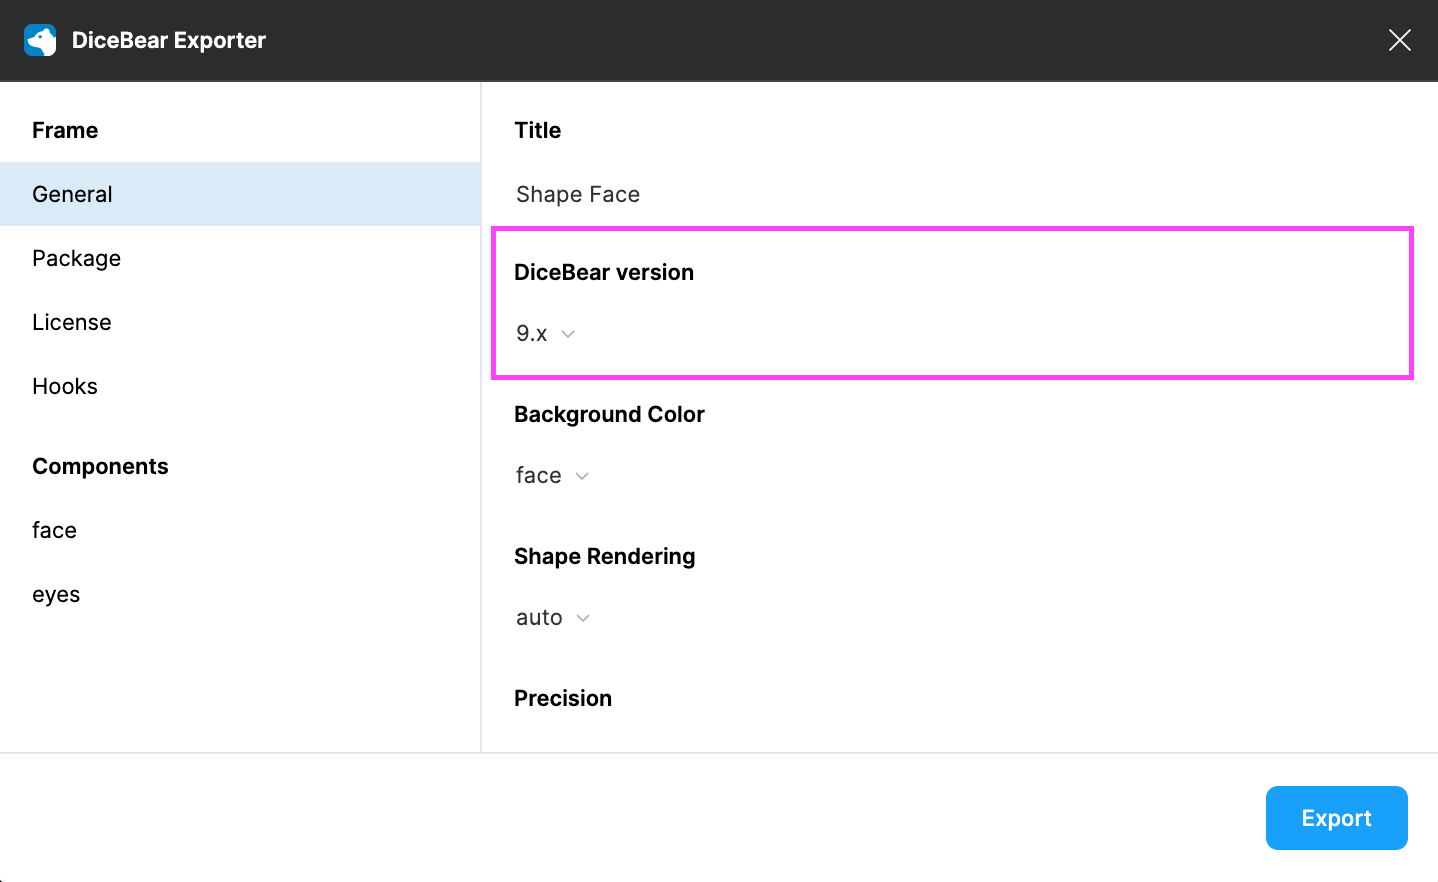
Search now for the DiceBear Exporter plugin. Make sure you have selected the frame and start the plugin.
A dialog will open where you can make all kinds of settings. For example the name of your avatar style, the license or the probability with which the components will appear in your avatar later.
The settings are automatically saved to your frame. Once you are happy with your settings, you can export your avatar style.
TIP
Make sure you select version 10.x in the export settings. This guide covers version 10.x.
Step 7
The plugin exports a JSON file — your style definition. This file is ready to use immediately. No build step required.
You can test your style right away with the CLI:
dicebear ./your-style.json ./test-output --count 10This generates 10 sample avatars in the ./test-output directory.
Step 8
Congratulations! You can now use your avatar style with the JS Library, the PHP Library, or the CLI.
With the JS Library
js
import { Avatar } from '@dicebear/core';
import definition from './your-style.json' with { type: 'json' };

const avatar = new Avatar(definition, {
  seed: 'dicebear',
  // ... other options
});
With the PHP Library
php
use DiceBear\Avatar;

$definition = json_decode(file_get_contents('./your-style.json'), true);

$avatar = new Avatar($definition, [
  'seed' => 'dicebear',
  // ... other options
]);
With the CLI
dicebear ./your-style.json ./avatars --seed "dicebear" --format pngTIP
The CLI automatically detects all available options from your style definition. Use --help with your definition file to see them:
dicebear ./your-style.json --help